Azure disk encryption using AAD app with custom certificate


Azure guarantees that all the data that being stored on any Azure Storage Services are encrypted by default.
You can refer to Azure Data Encryption-at-Rest for more details in regards.
However, most enterprises have their own standards to ensure a high security level is applied on their infrastructure. One of the most common security features that is needed on Virtual Machines is the Disk Encryption.
For this Azure provides us with the ability to use the Azure Disk Encryption service, which will allow us to encrypt our Virtual Machines Disks.
Azure Disk Encryption
For disk encryption on Windows VMs, Azure uses the Windows BitLocker for encryption, but instead of managing the encryption from inside the Guest OS, you can manage it from Azure directly, this will give you more flexibility in enabling and disabling the disk encryption. Also, it will use the Azure Key Vault to securely store the disk encryption keys and secrets, which for sure has a huge benefit in situation where you have to retrieve the encryption Keys/Secrets to recover your encrypted VM/Disks if anything went wrong.
One of the challenges that you might go through, is to use a custom certificate to encrypt your VM, which we will be discussing over this blog.
First of all, you’ve to know that Azure so far gives us the ability to use Azure disk encryption in two methods, with AAD APP (the old release), and without AAD APP (the new release).
To make sure that our Custom Certificate is used to encrypt the Disks, we have to use the old release which is encrypting the disks with the AAD APP.
We can use the custom certificate with Disk Encryption without AAD APP. However, the certificate in this case will be used only for encrypting the encryption key, not to encrypt the Disk.
Enabling Azure Disk Encryption using AAD APP with Custom Certificate
In our exercise below, we are using a self-signed certificate as our custom certificate.
You need to have Azure PowerShell Module, Please refer to Install the Azure PowerShell module if you done have it already, and make sure to connect to your Azure account using Connect-AzAccount command.
1. You’ve to create a new Self Signed Certificate on your local Machine, you can use the below simple PowerShell Command, that have the needed parameters:
Make sure that the -KeySpec is set to KEYEXCHANGE and as you know it has to be Exportable
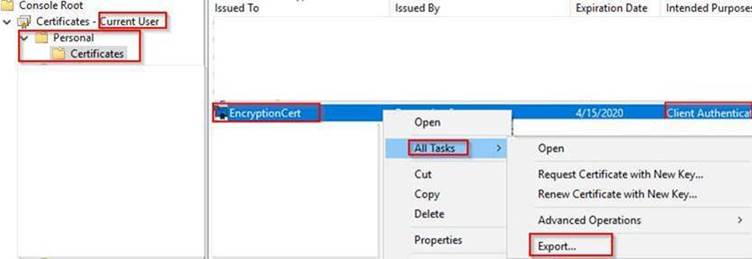
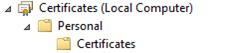
The certificate will be created on your local Machine within this path: “Certificate – Current User\Personal\Certificates” .
$cert=New-SelfSignedCertificate -Subject "CN=EncryptionCert" -CertStoreLocation "Cert:\CurrentUser\My" -KeyExportPolicy Exportable -KeySpec KEYEXCHANGE
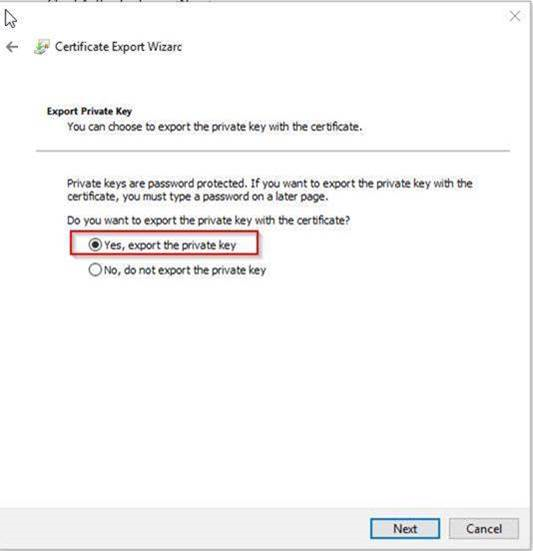
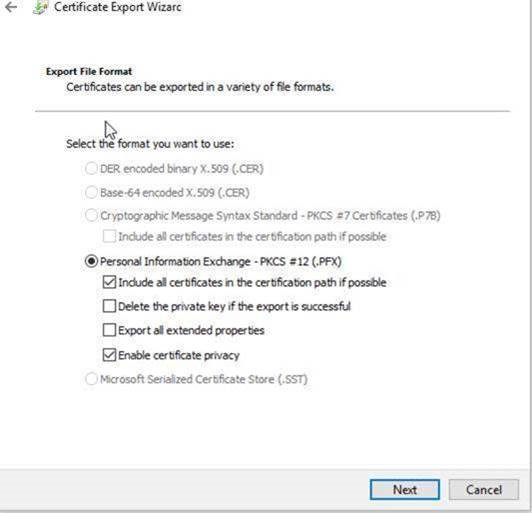
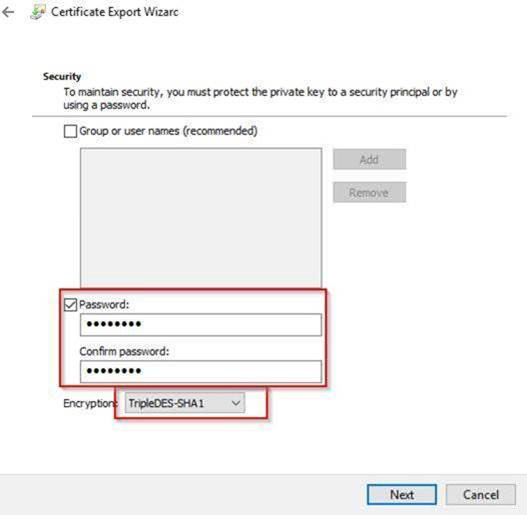
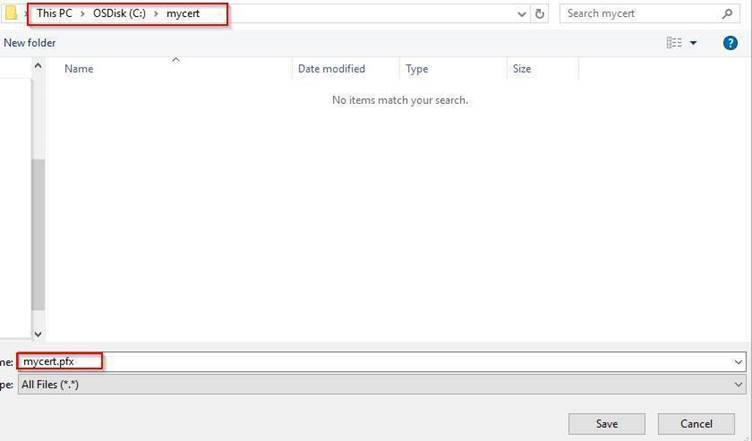
2. Export this certificate as shown below, ( in this example, I’ve exported the certificate to “C:\mycert” folder on my local machine:
3. Now lets create a new KeyVault for encryption: (we are using Azure Az PowerShell Module):
$KVRGname = “KeyVault resource group name”
$KeyVaultName= 'Key Vault Name'
$Loc = ‘Region where the VM and the Key vault are located’

New-AzKeyVault -VaultName $KeyVaultName -ResourceGroupName $KVRGname -Location $Loc
Set-AzKeyVaultAccessPolicy -VaultName $KeyVaultName -ResourceGroupName $KVRGname -EnabledForDiskEncryption
4. Create the Azure AD application and associate the certificate with it:
$CertPath = "C:\mycert\mycert.pfx"
$CertPassword = "Password"
$Cert = New-Object System.Security.Cryptography.X509Certificates.X509Certificate2($CertPath, $CertPassword)
$CertValue = [System.Convert]::ToBase64String($cert.GetRawCertData())


$AzureAdApplication = New-AzADApplication -DisplayName "<My Application Display Name>" -HomePage "<https://MyApplicationHomePage>" -IdentifierUris "<https://MyApplicationUri>" -CertValue $CertValue
$ServicePrincipal = New-AzADServicePrincipal -ApplicationId $AzureAdApplication.ApplicationId

$AADClientID = $AzureAdApplication.ApplicationId
$aadClientCertThumbprint= $cert.Thumbprint
5. Give access for setting secrets and wrapping keys:
Set-AzKeyVaultAccessPolicy -VaultName $keyVaultName -ServicePrincipalName $aadClientID -PermissionsToKeys 'WrapKey' -PermissionsToSecrets 'Set' -ResourceGroupName $KVRGname6. Upload the pfx file to the key vault:
$KeyVaultSecretName = "MyAADCert"
      $FileContentBytes = get-content $CertPath -Encoding Byte
      $FileContentEncoded = [System.Convert]::ToBase64String($fileContentBytes)
             $JSONObject = @"
                {
                     "data" : "$filecontentencoded",
                     "dataType" : "pfx",
                     "password" : "$CertPassword"
                }
"@

      $JSONObjectBytes = [System.Text.Encoding]::UTF8.GetBytes($jsonObject)
      $JSONEncoded = [System.Convert]::ToBase64String($jsonObjectBytes)
7. Set the secret and set the key vault policy for deployment
 $Secret = ConvertTo-SecureString -String $JSONEncoded -AsPlainText -Force
  Set-AzKeyVaultSecret -VaultName $KeyVaultName -Name $KeyVaultSecretName -SecretValue $Secret
  Set-AzKeyVaultAccessPolicy -VaultName $KeyVaultName -ResourceGroupName $KVRGname -EnabledForDeployment
8. Generate the KEK:
$KEKName ='KEKName'
  $KeyVault = Get-AzKeyVault -VaultName $KeyVaultName -ResourceGroupName $KVRGname
  $DiskEncryptionKeyVaultUrl = $KeyVault.VaultUri
  $KeyVaultResourceId = $KeyVault.ResourceId
  $KEK = Add-AzKeyVaultKey -VaultName $KeyVaultName -Name $KEKName -Destination "Software"
  $KeyEncryptionKeyUrl = $KEK.Key.kid
9. There is no need to import the certificate manually to the VM that we need to encrypt, as we can do that from Azure using the below:
$VMName = 'MySecureVM';
$VMRGName = 'MyVirtualMachineResourceGroup';
$CertUrl = (Get-AzKeyVaultSecret -VaultName $KeyVaultName -Name $KeyVaultSecretName).Id
$SourceVaultId = (Get-AzKeyVault -VaultName $KeyVaultName -ResourceGroupName $KVRGName).ResourceId
$VM = Get-AzVM -ResourceGroupName $VMRGName -Name $VMName
$VM = Add-AzVMSecret -VM $VM -SourceVaultId $SourceVaultId -CertificateStore "My" -CertificateUrl $CertUrl
Update-AzVM -VM $VM -ResourceGroupName $VMRGName
10. Once the above command is completed, you will find the certificate imported into the VM that we need to encrypt at below path:
11. Now our VM, Key Vault, AAD app and KEK are ready for the encryption, so lets encrypt the VM using the below command:
Set-AzVMDiskEncryptionExtension -ResourceGroupName $VMRGName -VMName $VMName -AadClientID $AADClientID -AadClientCertThumbprint $AADClientCertThumbprint -DiskEncryptionKeyVaultUrl $DiskEncryptionKeyVaultUrl -DiskEncryptionKeyVaultId $KeyVaultResourceId -KeyEncryptionKeyUrl $keyEncryptionKeyUrl -KeyEncryptionKeyVaultId $KeyVaultResourceIdAfter following the above steps, you will have an encrypted Windows Azure Virtual Machine, that is using AAD APP with the Custom Certificate for encryption.